Standard mode is the ideal configuration option for the plugin, as there is only one template option for serving requests, and a single AMP version of your site. This means that sites in Standard mode are AMP-first (i.e. all AMP). This mode effectively reduces development and maintenance costs, and it is a good and easy choice for sites where all components used in the site (themes and plugins) are fully AMP compatible, or some components added to the site may be AMP incompatible but we have the resources or the know-how to fix them.
In this section let’s go over the process of configuring your site in Standard mode. We are configuring a site using the TwentyTwenty theme which is fully AMP compatible when used with the AMP plugin. We don’t have plugins active in the site, but if we had some, and they were AMP compatible, we would be able to configure the plugin standard mode equally easy.
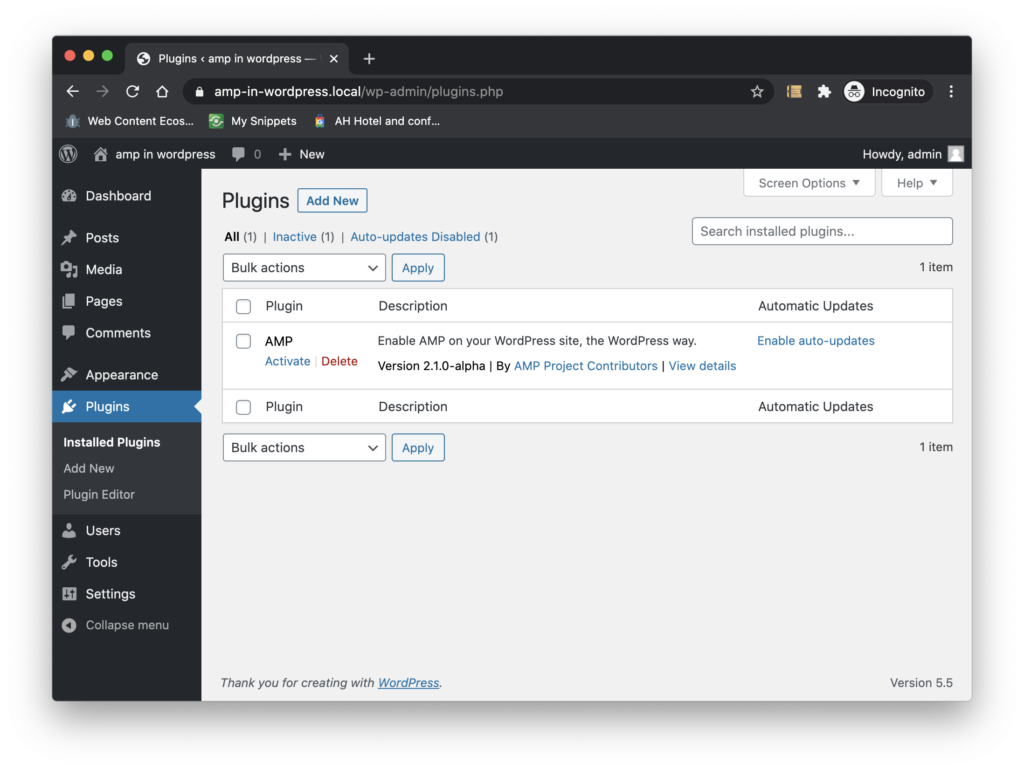
Install the AMP plugin #
As a first step, install the plugin on your site. You can get it in the WordPress.org plugin repository. Once you install it you should see it in the plugin screen as this.

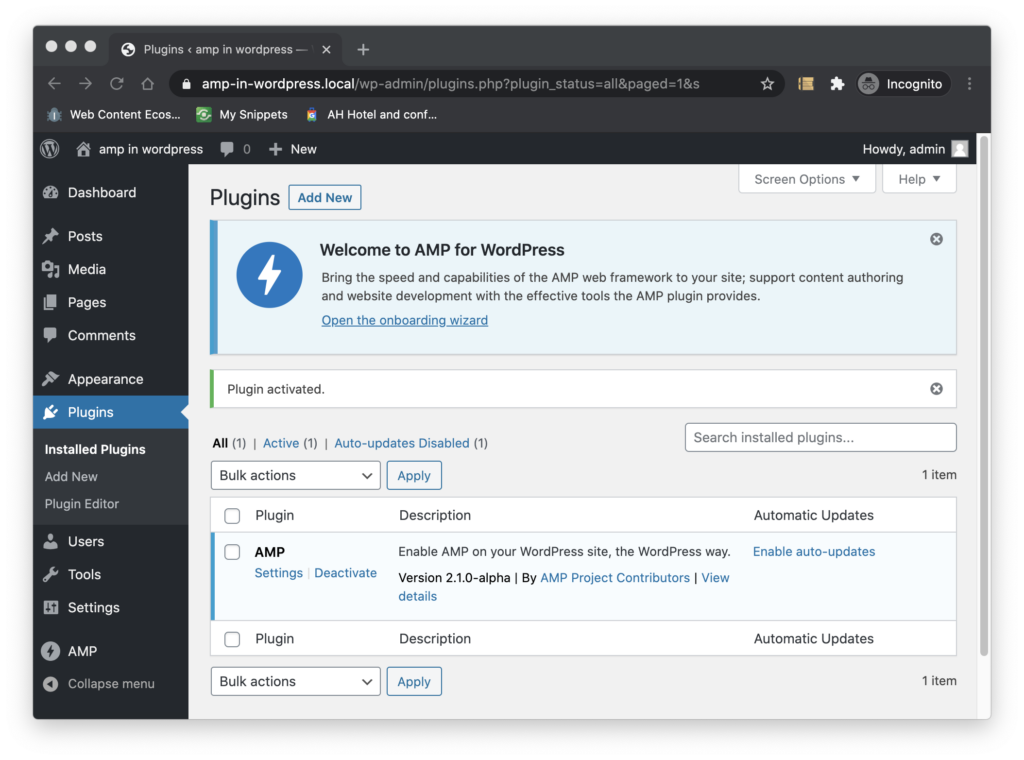
Activate the plugin #
The next step is to click on the Activate the plugin. If it is the first time you do this, you will see an activation notice on top of the plugin screen as shown below.

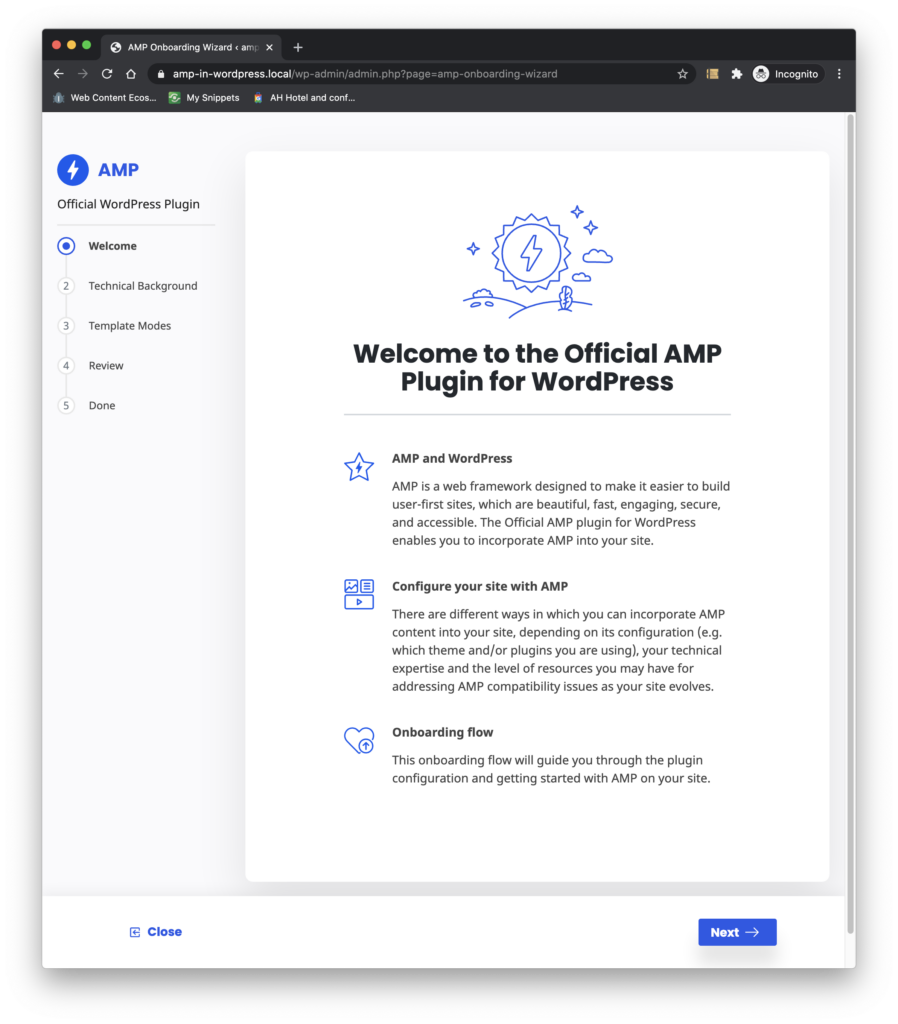
The Onboarding Wizard #
Now we are ready to let the onboarding flow to guide us through the configuration process. Since the plugin is being configured in Standard mode, we assume you all the components you plan to use on your site are fully AMP compatible and that you have the technical expertise that may be required to fix validation issues if they arise and keep your site in full AMP compatibility.
You can trigger the onboarding flow clicking on the "Open the onboarding wizard” link in the activation notice or from the AMP plugin settings screen (as we will see later). As we kick start the onboarding flow, we are greeted by the plugin and we are told what to expect from the plugin and the onboarding flow.

In the the next step the plugin asks if you are a developer or technically savvy user. The plugin asks this because depending on the answer to this question, a given configuration of the plugin may be better than another.

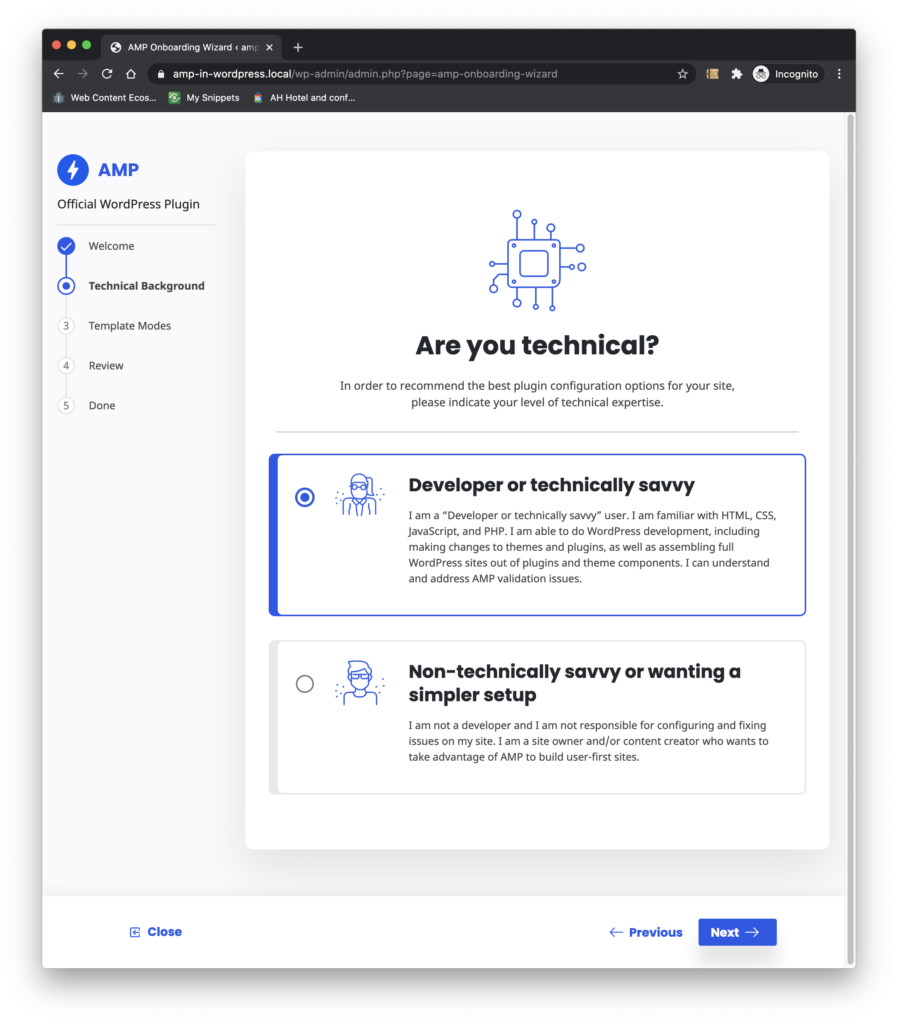
We are configuring Standard mode which is the ideal case, but also it may require us to be able to deal with validation errors if they occur. Therefore, we indicate we are technically savvy and proceed.
In the next step the plugin asks us select the template mode we would like to use. Notice the plugin offers guidance on which mode we should use, depending on the answer we gave in the previous step. In the near future, the plugin will also perform Site Scanning task to determine the level of AMP compatibility of the site, and refine its recommendations further.

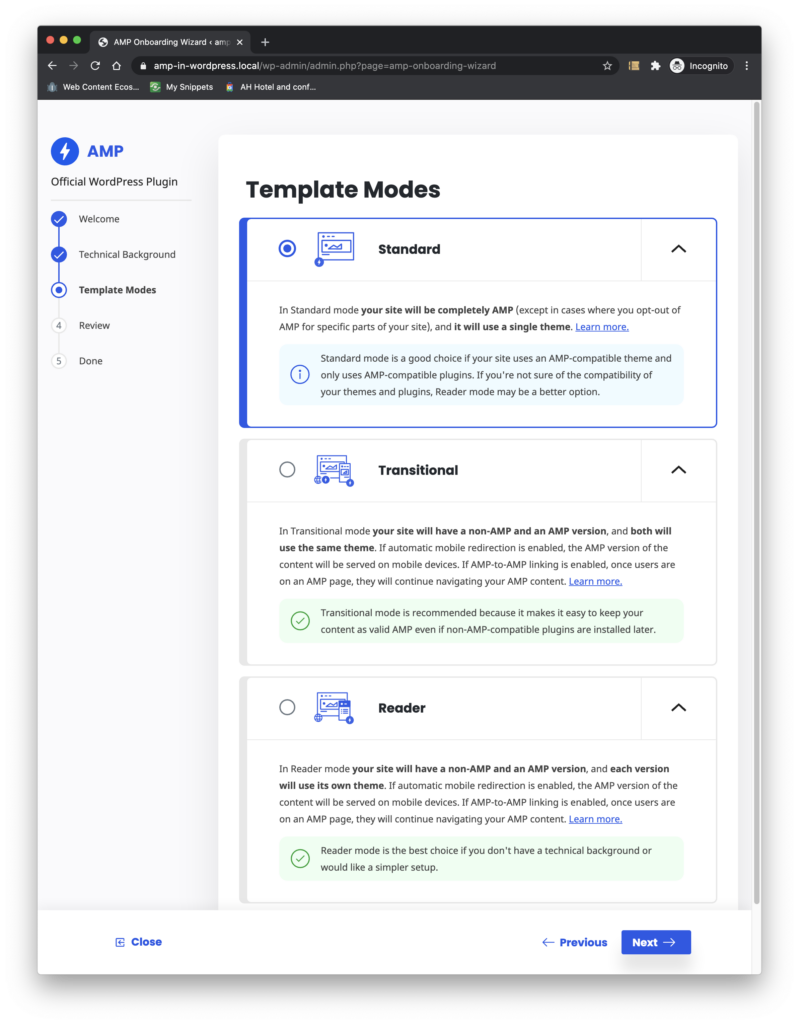
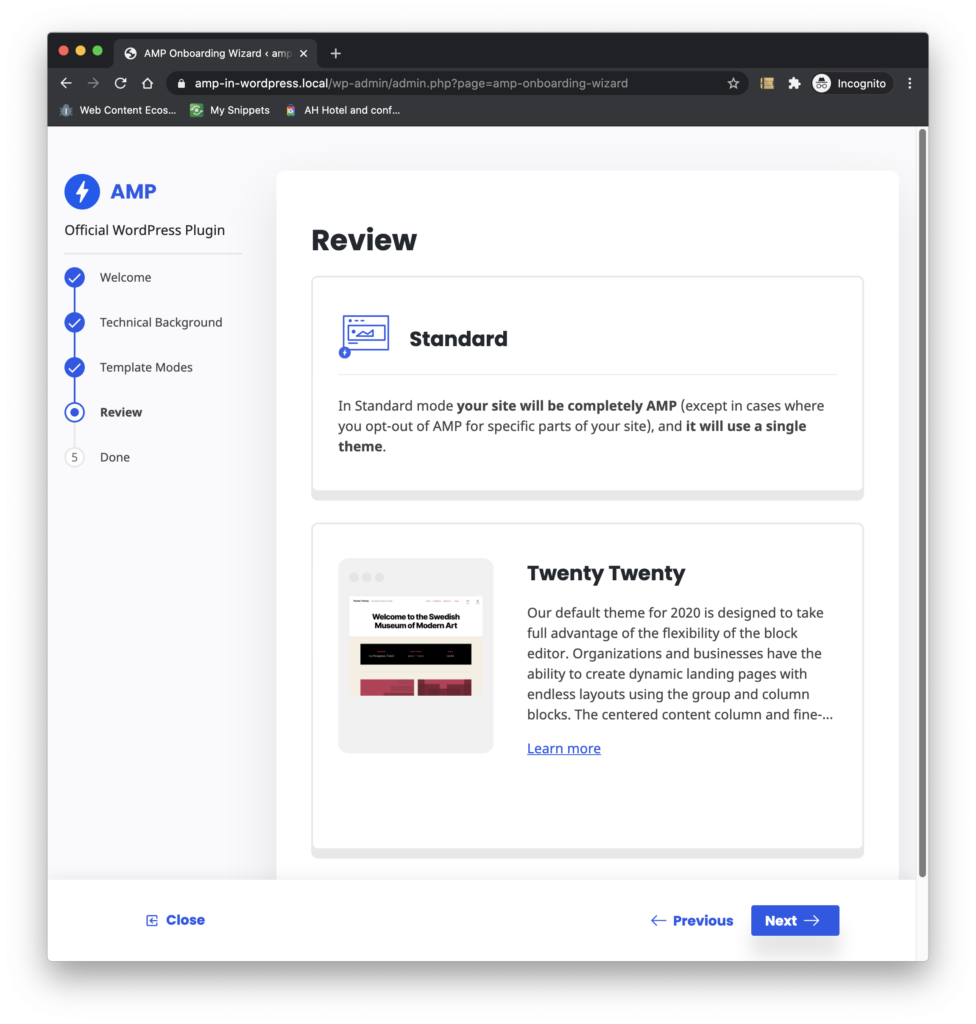
We select Standard Mode, and continue. In the next step the plugin gives us a summary of the current configuration indicating the mode we chose and the theme we are using. Recall that in Standard mode there is a single theme and a single version of the site.

Clicking on “Next” triggers the saving of the configuration, and the onboarding flow congratulates us and shows a preview of our site embedded in the flow. We can browse the site there, or click “Finish”.
Once we click “Finish” we are taken to the plugin’s Settings Screen.
That’s it!